Are you ready to take your floor maintenance game to the next level? Say goodbye to dull and worn-out floors with our guide to the art of floor stripping and waxing. Whether you’re a facility manager, business owner, or just someone who takes pride in their floors, mastering this essential skill will leave your surfaces gleaming with long-lasting luster.
-
Understanding the Basics:
Before diving into the process, it’s crucial to understand the basics of floor stripping and waxing. Floor stripping involves removing old wax and finish from the surface, while waxing adds a protective layer that enhances shine and durability.
-
Gather the Right Equipment:
To get started, gather the necessary equipment, including a floor stripper solution, wax, mop, floor buffer or scrubber, wet/dry vacuum, and safety gear such as gloves and goggles. Having the right tools at your disposal will ensure a smooth and efficient process.
-
Prepare the Area:
Clear the area of furniture, rugs, and other obstacles to allow for unobstructed access to the floor. Use caution signs to alert others to the wet and slippery conditions during the stripping and waxing process.
-
Strip the Floor:
Dilute the floor stripper solution according to the manufacturer’s instructions and apply it evenly to the floor surface using a mop or sprayer. Allow the solution to dwell for the recommended amount of time, typically 10-15 minutes, to loosen the old wax and finish.
-
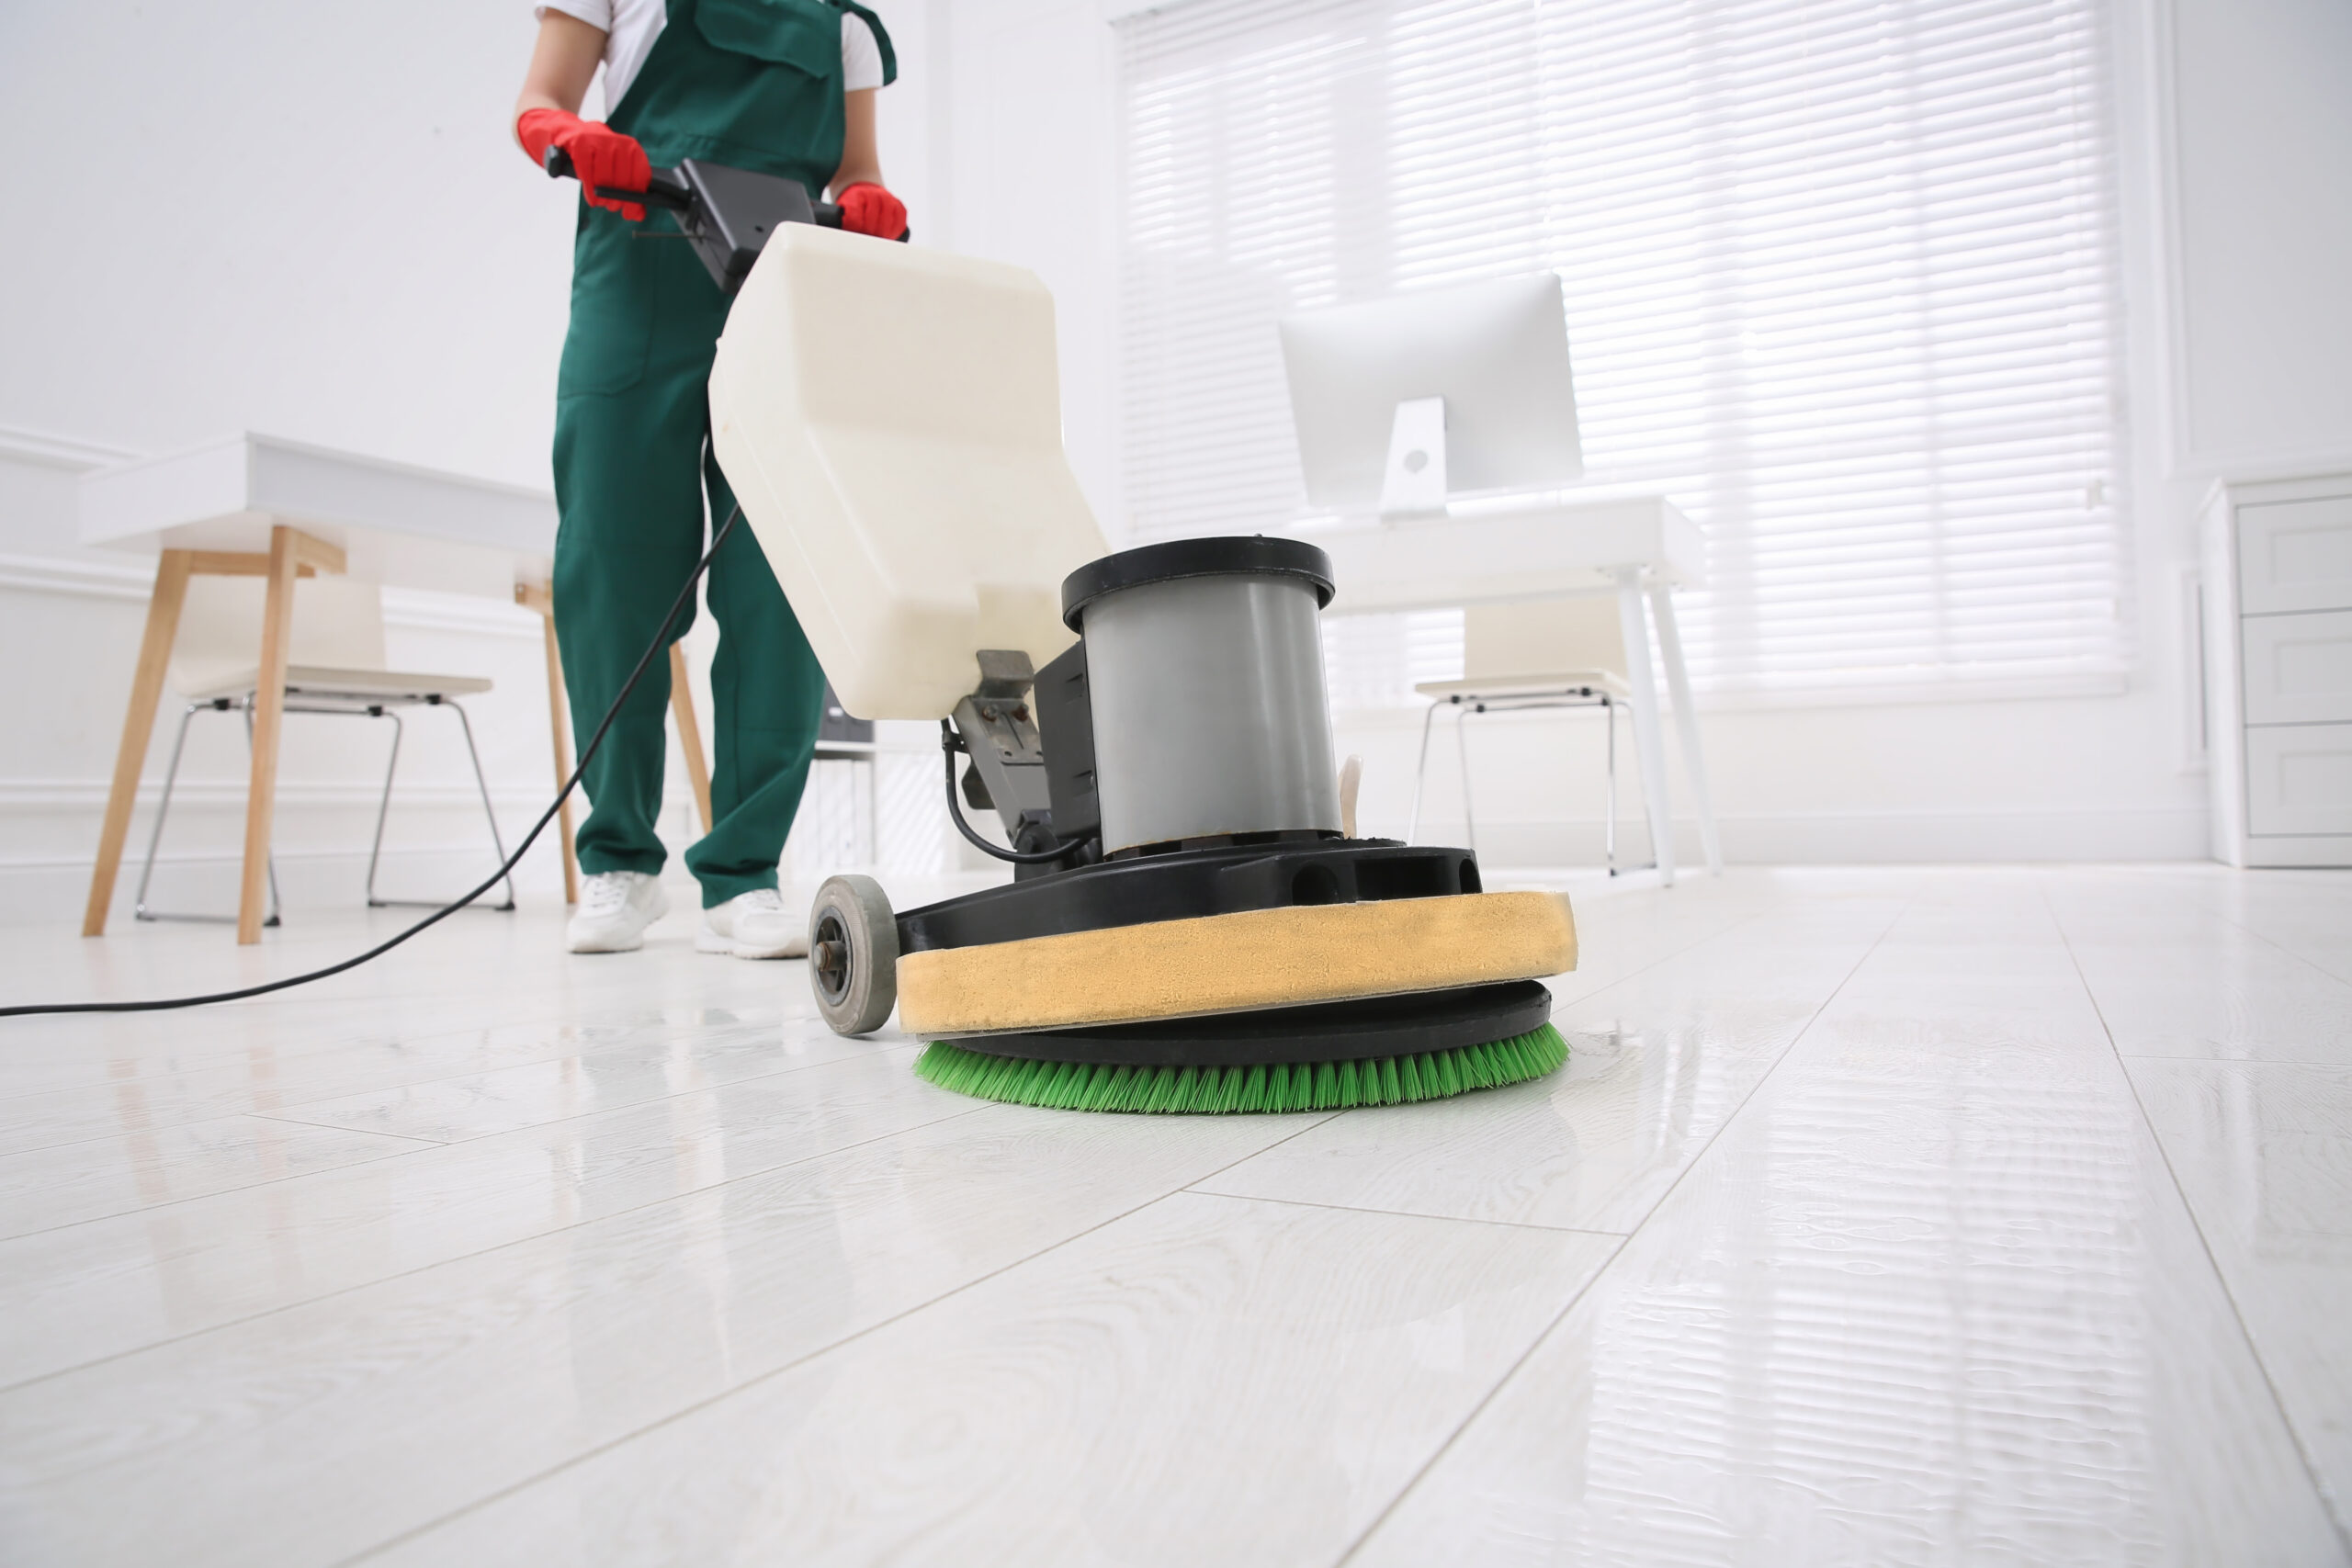
Scrub and Remove Old Finish:
Use a floor buffer or scrubber with an abrasive pad to agitate the floor surface and loosen the old wax and finish. Work in small sections, overlapping each pass to ensure thorough coverage. Use a wet/dry vacuum to remove the stripped wax and solution from the floor.
-
Rinse the Floor:
After stripping, rinse the floor thoroughly with clean water to remove any remaining residue from the stripping solution. Use a mop or auto-scrubber to ensure complete coverage and effective rinsing.
-
Allow the Floor to Dry Completely:
Allow the floor to dry completely before proceeding with the waxing process. Ensure adequate ventilation to expedite the drying process and prevent moisture-related issues.
-
Apply Wax:
Once the floor is dry, apply a thin, even coat of floor wax using a clean mop or wax applicator. Work in small sections, overlapping each pass to achieve uniform coverage. Allow the wax to dry according to the manufacturer’s instructions.
-
Buff for Shine:
After the wax has dried, use a floor buffer with a soft pad to buff the floor surface to a high shine. Work methodically, moving the buffer in straight lines across the floor to maximize shine and smoothness.
-
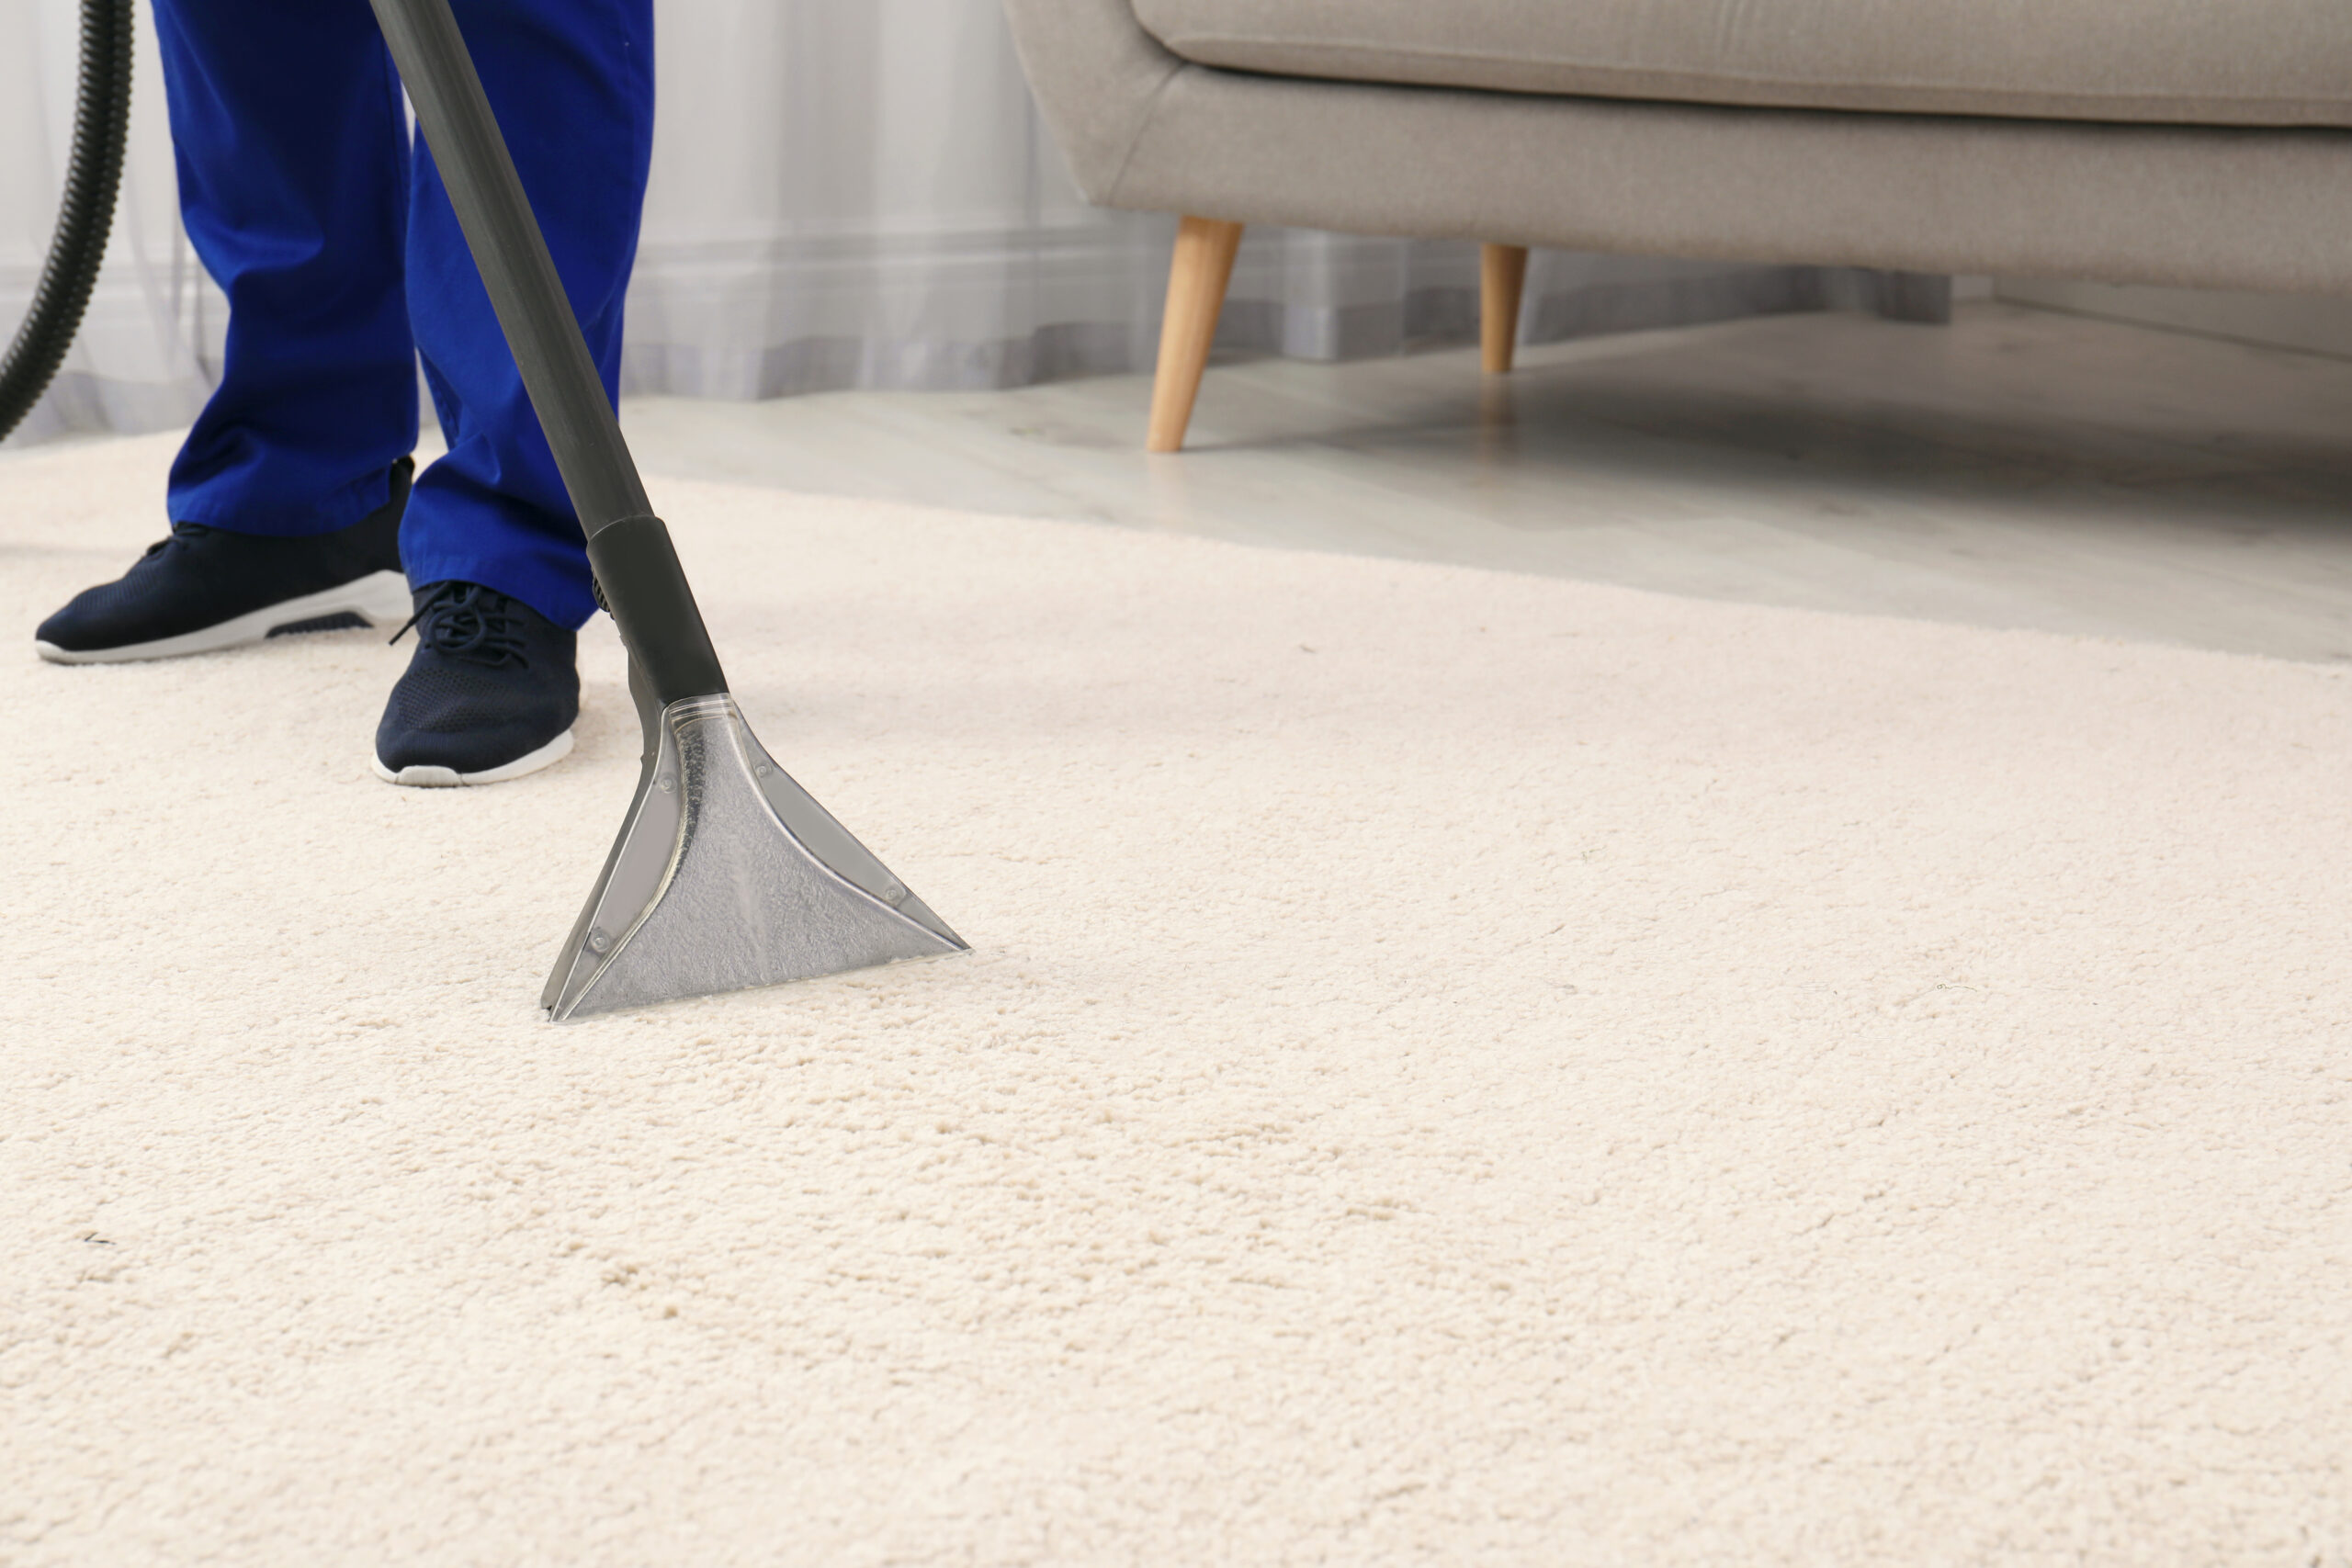
Maintain Regularly:
To preserve the luster and longevity of your newly waxed floors, establish a regular maintenance schedule. Daily sweeping and periodic mopping with a neutral cleaner will help keep your floors looking their best between waxing sessions.
By mastering the art of floor stripping and waxing, you can achieve long-lasting luster and maintain the beauty of your floors for years to come. Say hello to floors that shine bright and make a lasting impression!